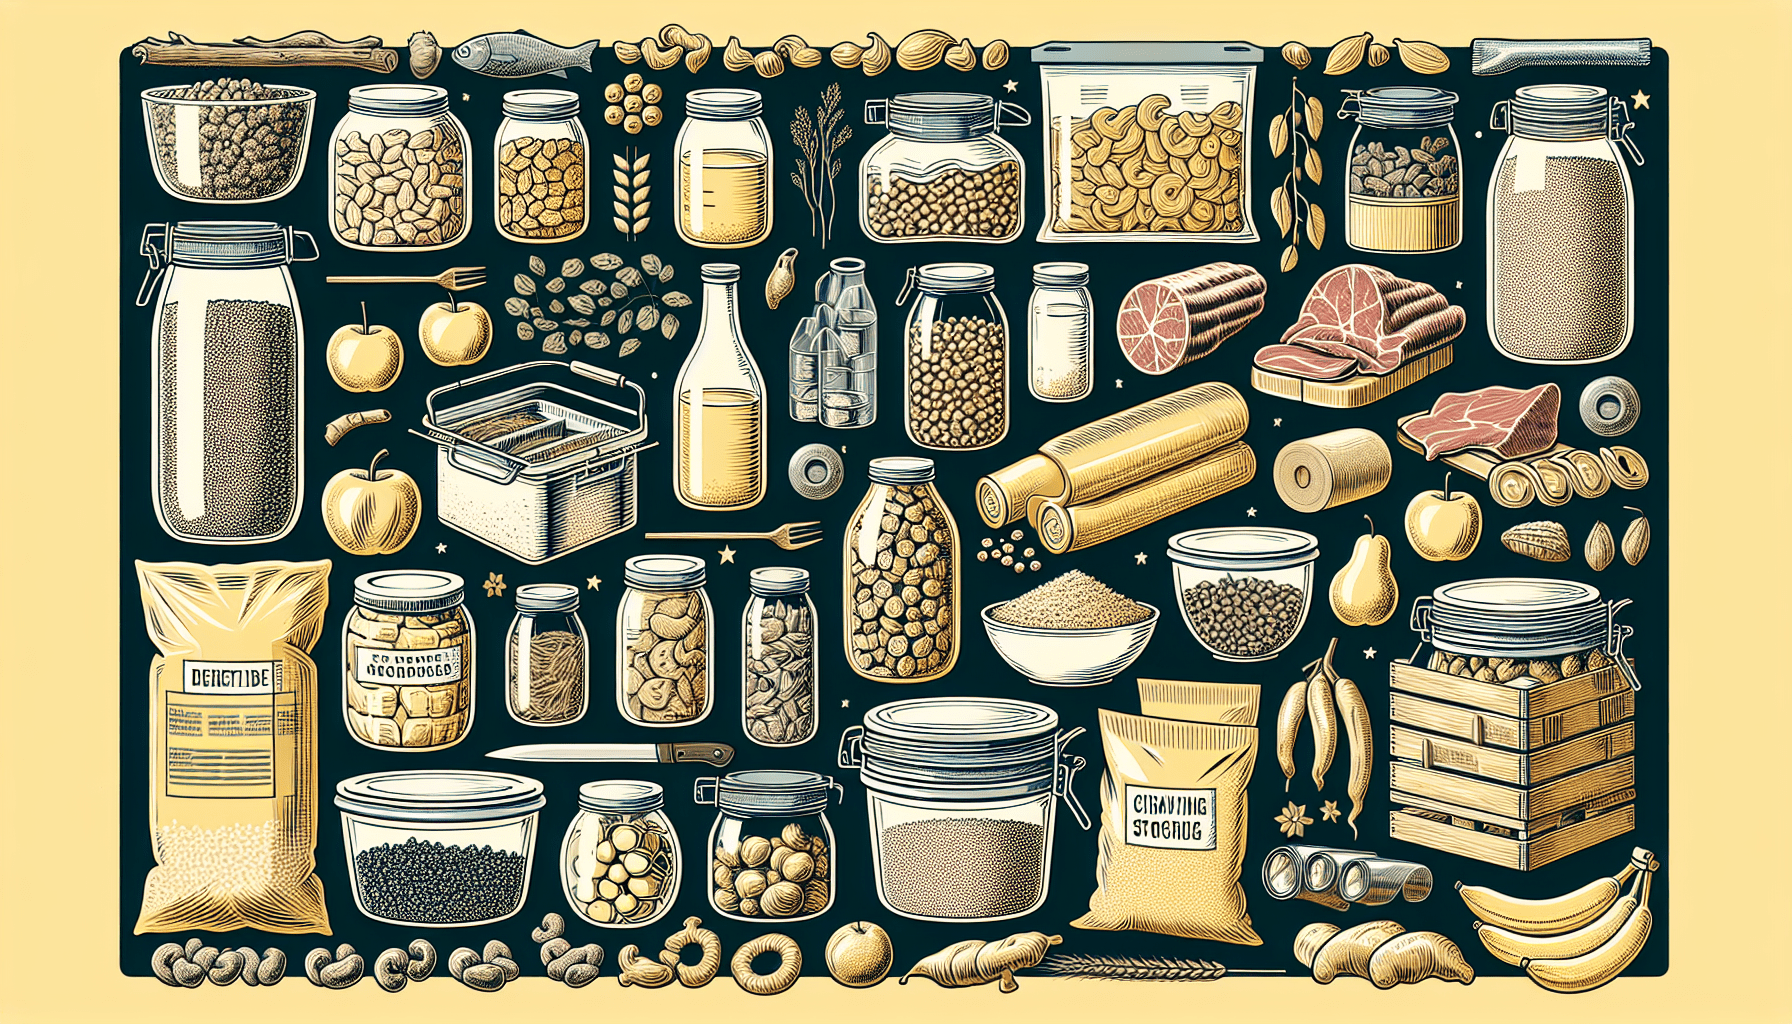
In today’s uncertain times, it is essential to be prepared for any situation, especially when it comes to food. Whether you are planning for a potential natural disaster or simply want to have a stockpile for peace of mind, knowing the best ways to store food for long-term survival is crucial. From selecting the right containers to utilizing proper techniques for preserving various types of food, this article will provide you with practical tips and expert advice to ensure that you have a reliable source of sustenance, no matter what comes your way.
Canning

Overview of canning as a food storage method
Canning is an effective and popular method of preserving food for long-term storage. It involves heating food in jars to kill bacteria, yeasts, and mold, which helps to prevent spoilage. The process creates a seal that keeps air and contaminants out, ensuring the longevity of the canned food. Canning is particularly useful for preserving fruits, vegetables, jams, jellies, sauces, and pickles.
Types of foods that can be canned
A wide variety of foods can be canned, allowing you to preserve your favorite fruits, vegetables, and other pantry staples. Fruits such as peaches, pears, and berries can be canned to enjoy their natural sweetness all year round. Vegetables like tomatoes, beans, corn, and carrots can be canned and used in soups, stews, and sides. Additionally, you can can your own sauces, pickles, and even meats like chicken or fish.

Step-by-step guide to canning
Canning may seem intimidating at first, but with the right equipment and instructions, it is actually quite simple. Here is a step-by-step guide to get you started:
-
Prepare your equipment: Gather canning jars, lids, and rings. Wash them with warm, soapy water, and sterilize them by boiling or using a dishwasher. Have a canning pot, canning rack, and basic kitchen tools ready.
-
Prepare your food: Wash and peel fruits and vegetables as necessary, removing any pits, seeds, or stems. Cut them into desired sizes. For sauces and pickles, follow your chosen recipe for preparation.
-
Fill your jars: Pack your prepared food into clean, sterilized jars, leaving a recommended headspace. Ensure there are no air bubbles by using a non-metallic utensil to remove any trapped air.
-
Apply lids and rings: Wipe the rims of the jars with a clean, damp cloth to remove any food residue. Apply the lids and screw on the rings until hand-tight. Do not over-tighten.
-
Process the jars: Place your filled jars into a canning pot filled with enough boiling water to cover the jars by at least one inch. Process according to the specific recipe or recommended processing times for your altitude.
-
Remove and cool the jars: Once the processing time is complete, carefully lift the jars out of the water and place them on a towel-lined countertop. Allow them to cool undisturbed for 12-24 hours.
-
Check for proper sealing: After the jars have cooled, press down on the center of each lid. If it stays down and does not flex up and down, the jar has a proper seal. Store sealed jars in a cool, dark place.
Recommended canning equipment
To make the canning process easier and more efficient, it’s important to have the right equipment. Here are some essential tools for successful canning:
-
Canning jars: Choose jars that are specifically made for canning, such as Mason or Ball jars. Ensure they are free of cracks or chips.
-
Canning lids and rings: Use new lids for each canning session to ensure a proper seal. Rings can be reused as long as they are in good condition.
-
Canning pot: A large, deep pot with a fitted lid and a canning rack is essential for water bath canning. It allows for even heat distribution and prevents jars from touching the bottom of the pot.
-
Kitchen tools: Basic kitchen tools like a large spoon, ladle, funnel, and jar lifter are necessary for filling and handling hot jars.
-
Optional tools: Additional tools that can make canning easier include a bubble remover/headspace tool, magnetic lid lifter, and a jar wrench for tightening rings.
Tips for successful canning
Canning can be a rewarding experience, but it’s important to follow some key tips for success:
-
Use fresh, high-quality produce: The quality of your canned food will greatly depend on the quality of the ingredients used. Select fresh, ripe produce for the best results.
-
Follow tested recipes: It’s crucial to use tested recipes from reputable sources, such as the National Center for Home Food Preservation or trusted canning books. These recipes have been tested for safety and provide accurate processing times.
-
Follow proper canning procedures: Adhere to proper canning procedures, including sterilizing jars, using appropriate headspace, and following the specific processing times and methods outlined in the recipe.
-
Check for proper seals: After the jars have cooled, check the seals by pressing down on the center of the lid. If it pops back or makes a clicking sound, the jar did not seal properly and should be refrigerated or reprocessed.
-
Store in a cool, dark place: Store your sealed jars in a location away from direct sunlight, extreme temperatures, and dampness. A cool, dark pantry or cellar is ideal for preserving the quality of your canned food.
Best practices for storing canned food
Proper storage is essential to maintain the quality and safety of your canned food. Here are some best practices for storing canned food:
-
Rotate your stock: To ensure that your canned food is used before it reaches its expiration date, establish a system of first in, first out (FIFO). Arrange your stored jars so that the oldest ones are used first.
-
Check for signs of spoilage: Before consuming canned food, inspect the jar for any signs of spoilage, such as bulging lids, leaks, mold growth, or off-putting odors. If you notice any of these signs, discard the food.
-
Keep an inventory: Maintain a running inventory of your canned food, noting the type, quantity, and date of canning. This helps you keep track of what you have and plan your meals accordingly.
-
Maintain proper temperature: Store your canned food in a cool environment with a temperature range of 50-70°F (10-21°C). Avoid storing your jars near hot appliances or in areas prone to temperature fluctuations.
-
Protect from pests: Ensure that your storage area is free from pests by sealing any cracks or gaps that may provide access. Consider using pest repellents or traps to prevent unwanted visitors.
Canning is a reliable and cost-effective method of preserving food for long-term storage. By following proper canning procedures and storing your jars correctly, you can enjoy the taste and nutritional value of your favorite fruits, vegetables, and other homemade treats throughout the year.